How to Set Up a Plate Carrier

With more than ten years of military experience, I’ve learned that properly setting up your plate carrier is absolutely essential. A well-configured kit can be the difference between being ready and being caught off guard. Whether you're serving in the military or a civilian preparing for high-stress situations, getting your plate carrier right is mission-critical. It needs to fit well, balance the load effectively, and provide quick access to your gear when everything goes south. Let’s break it down, step by step.
Step 1. Consider Your Mission & Role
When setting up your plate carrier, understanding your specific mission and role is crucial. Each role demands different priorities, whether it's carrying more ammunition, ensuring hydration, or having the right tools at your fingertips. Let's dive into how different missions dictate the setup of your tactical vest.
Recon: Lightweight, more water and storage pouches, sacrifices ammo for sustainment.
Assault: Heavyweight, more ammo and comms.
Breach: Medium weight, more pouches for tools and markings.
Support: Heavyweight, more ammo, more ammo, more ammo.
Step 2: Choosing the Right Carrier and Plates
Before you start adding gear to your vest, you need the right foundation. Plate carriers come in different cuts and sizes, so make sure it fits snugly without restricting movement. Your plates should match your body size—too big, and they’ll limit mobility; too small, and they’ll leave critical areas exposed.
Top Manufacturers
Agilite Gear: Known for innovation and comfort, Agilite plate carriers feature ergonomic designs that enhance mobility without sacrificing protection. Their adjustable suspension systems and lightweight construction make them a favorite among operators who prioritize agility.
Shop Agilite Plate CarriersCrye Precision: A top choice for many years, particularly within the special operations community, Crye plate carriers are designed with modularity in mind. The JPC (Jumpable Plate Carrier) is a top choice for those who need a lightweight yet highly functional rig.
Shop Crye Precision Plate CarriersShellback Tactical: Built to withstand harsh conditions, Shellback Tactical carriers offer rugged durability and excellent weight distribution. Many of their models come with built-in quick-release mechanisms, allowing for rapid removal in emergency situations.
Shop Shellback Tactical Plate CarriersCondor: Known for affordability and functionality, Condor plate carriers provide a durable and versatile option for those on a budget. They feature modular designs with ample MOLLE space for attaching various pouches and gear, making them ideal for both beginners and experienced users looking for a reliable setup.
Shop Condor Plate Carriers
Brand fit varies across manufacturers, with some prioritizing mobility while others focus on durability and load-bearing capabilities. Agilite and Crye Precision offer ergonomic, high-speed options ideal for dynamic operations, while Shellback Tactical is renowned for its robust builds, perfect for extended field use. However, each brand provides a variety of styles to meet diverse requirements. For instance, Shellback, famous for its durable carriers, also offers minimal designs for those prioritizing agility. Likewise, Condor features both heavy-duty plate carriers and sleek, low-profile versions. It’s crucial to try on various models and comprehend their intended functionality to ensure the carrier suits your operational needs and comfort.
Pro Tip: The plate should sit high enough to protect your vital organs, meaning the top should be just below your collarbone and it should also hit just above your naval. If it’s riding low or too high, you risk leaving yourself vulnerable.
Step 3: Adjusting Fitment
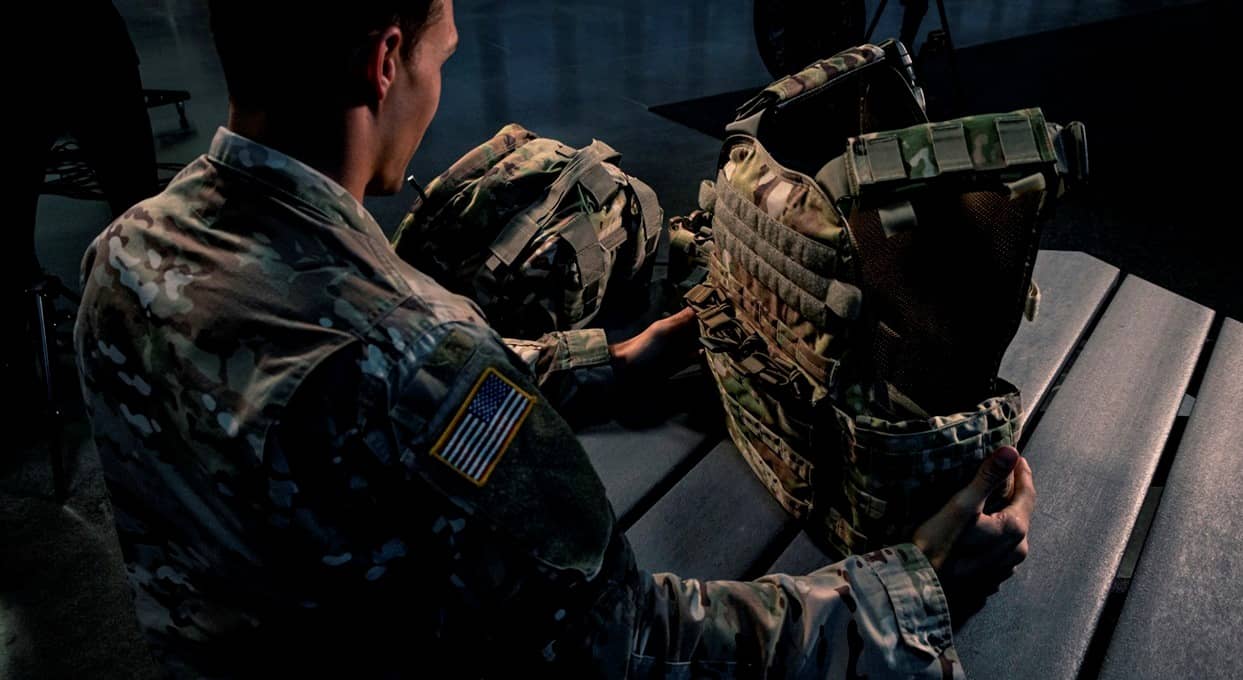
A plate carrier that doesn’t fit properly can expose you to injuries and discomfort. Cinch down the shoulder straps so the carrier doesn’t shift when you move. The cummerbund should be snug but not so tight that it restricts breathing. When adjusted correctly, you should be able to take a deep breath without feeling like you’re being crushed.
Common Mistake: Some people leave the straps loose because they think it’s more comfortable. That’s a great way to end up with your gear bouncing around when you start running.
Step 4: Loadout Placement – Balancing Weight and Accessibility

Where you place your gear is just as important as having the right gear in the first place. Keep in mind: if you can’t reach it with either hand, it’s probably in the wrong spot.
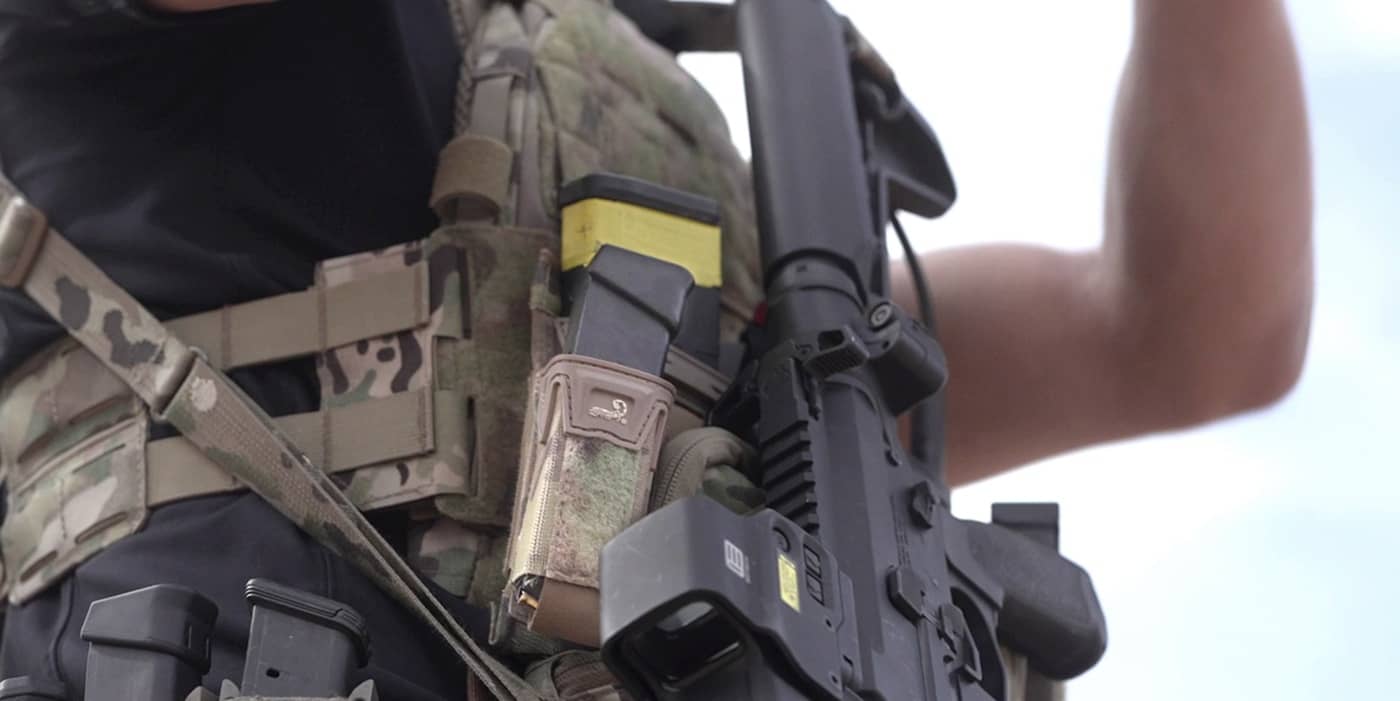
Front Panel: Magazines should be centerline, with pistol mags or tools on the sides. Avoid overloading the front to keep a low profile when prone.
Cummerbund: Side pouches are ideal for radio, IFAK, canteen/hydration pouches, utility pouches, or extra mags. Just don’t weigh yourself down with unnecessary items that could restrict movement. This is crucial to consider when reloading your primary weapon, ensuring you can swiftly and efficiently access your magazines without fumbling.
Back Panel: Hydration carrier or assault pack—anything you don’t need instant access to. Be cautious when placing a hydration system on your back if you plan to wear a ruck. The pressure from the ruck could potentially puncture your hydration bladder, leaving you without water. It's often better to stow or attach your hydration system to your ruck, especially during extended operations where sustained hydration is crucial. Depending on your mission or personal preference, some choose to mount their radio on their back panel. I personally don’t like this in case I need to adjust or troubleshoot comms. This is also not always feasible if carrying a pack.
It's important to remember that your setup may differ based on your specific duty description and operational needs. However, these recommendations are based on my experience as an infantry officer and represent best practices.
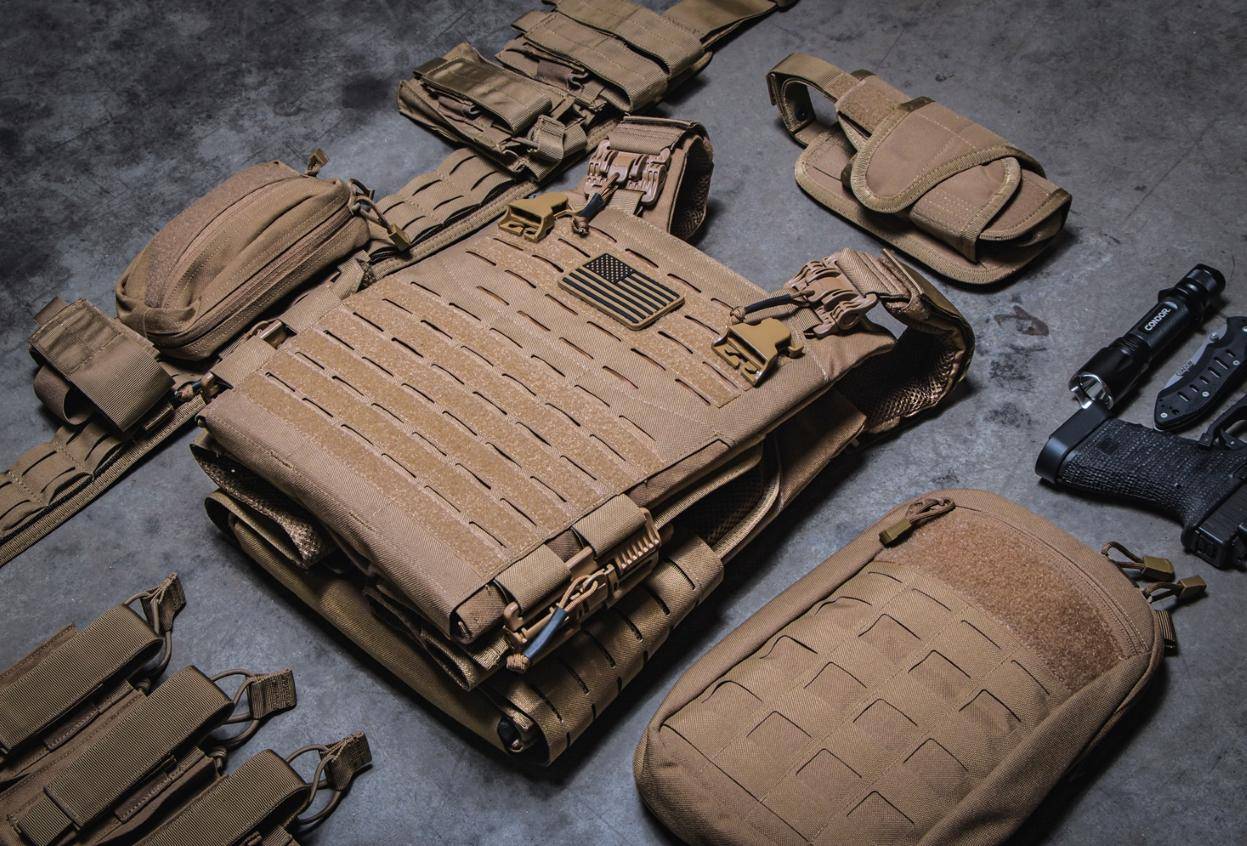
Step 5. Plate Carrier Accessories
Equipping your tactical vest with essential accessories maximizes its utility. Here are some popular MOLLE pouches and accessories that can enhance your setup:
Magazine Pouches (Front Panel): These hold single or multiple magazines, keeping ammunition within easy reach. Place them centerline for quick reloads. Consider magazine pouches for both your primary and secondary weapon systems. If you're using a battle belt, it's an excellent spot for additional single magazine pouches, ensuring that you have ample ammunition readily accessible for both weapons.
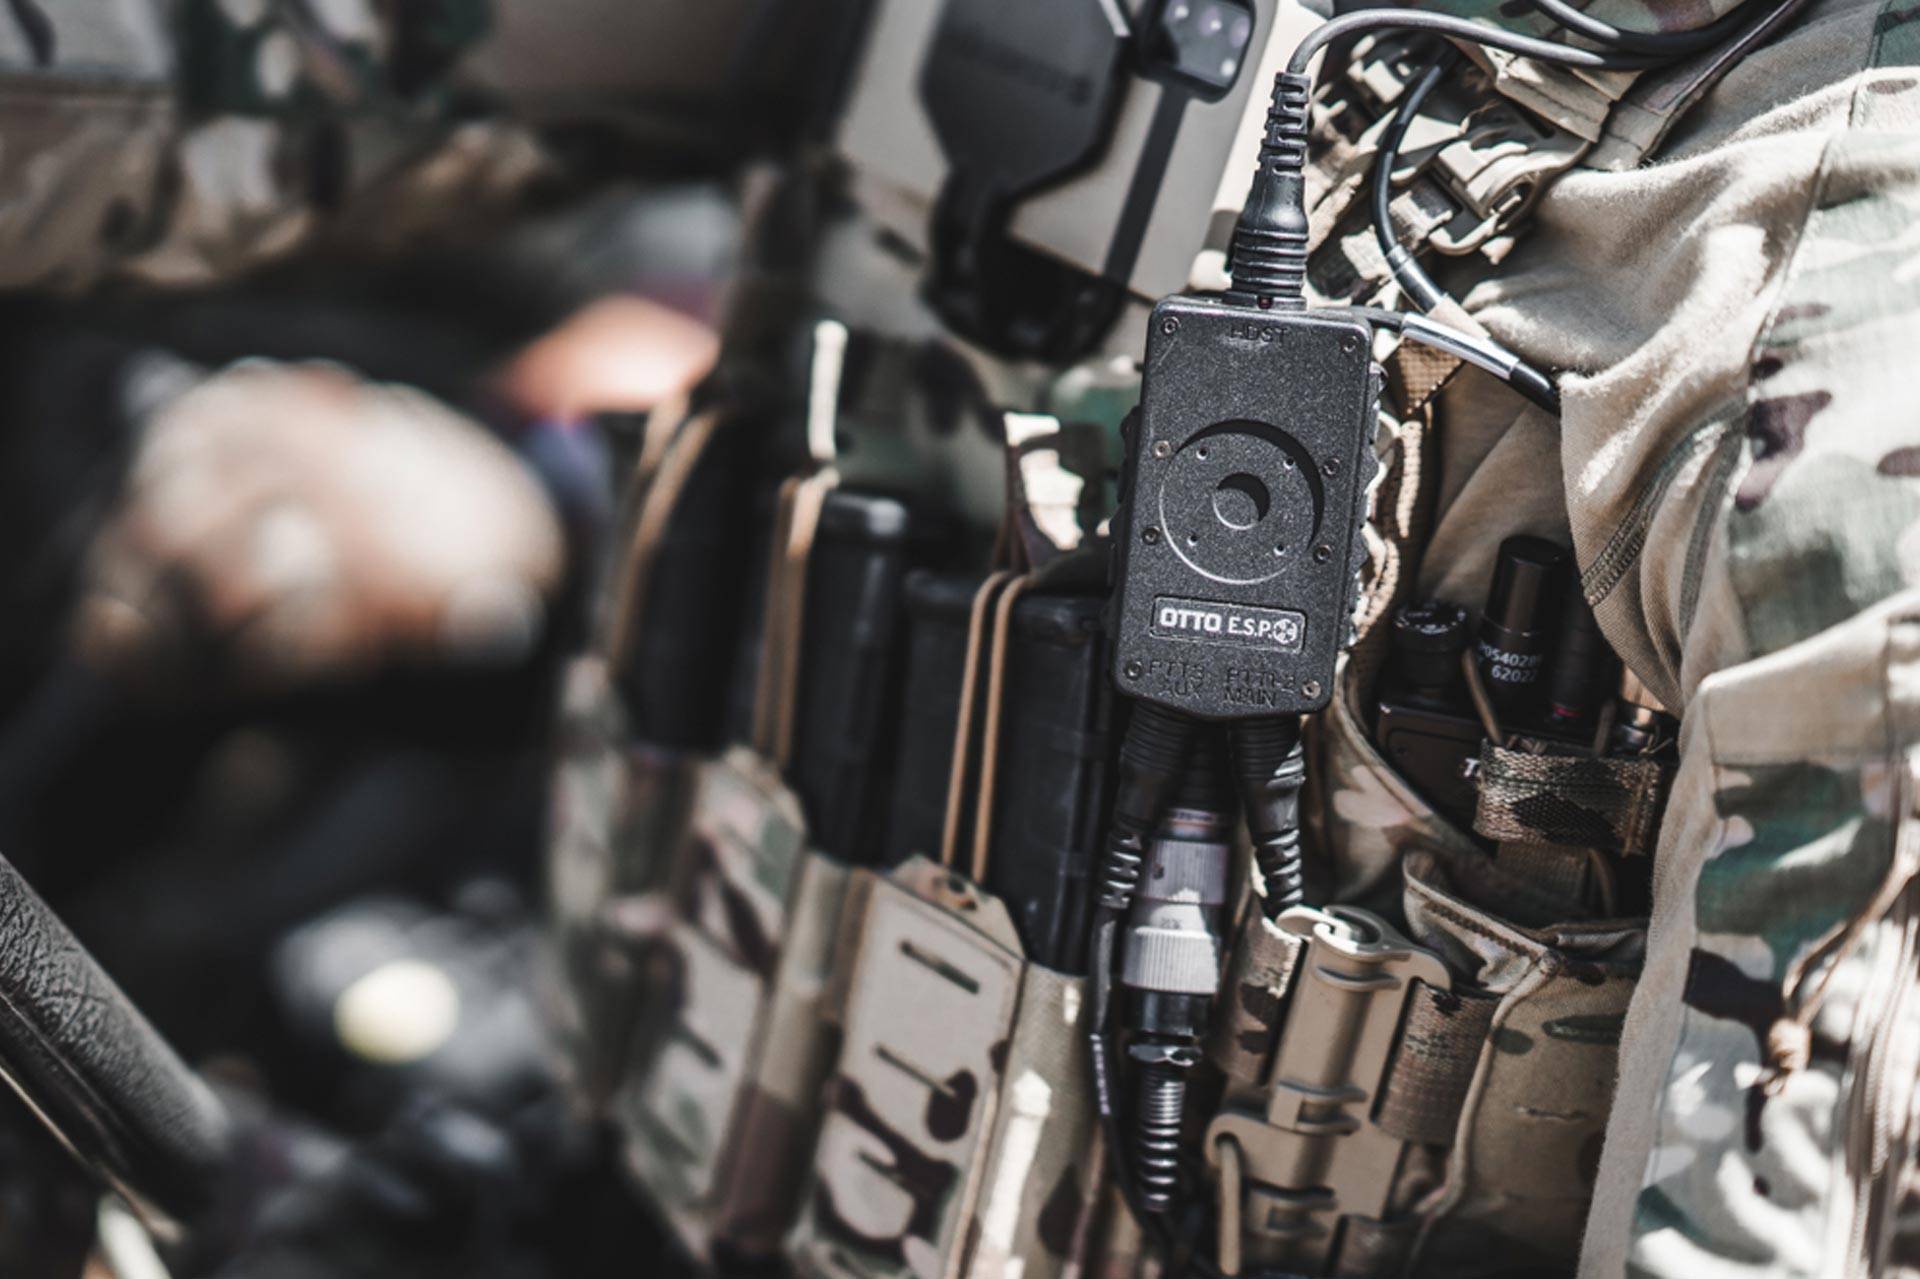
Radio Pouches: A radio pouch is an essential accessory for securely carrying and accessing your communication device while keeping your kit streamlined. Designed for quick deployment, most radio pouches feature adjustable retention straps or bungee cords, ensuring a secure fit for various radio models while allowing for easy operation.
Hydration Packs (Back Panel): Hydration is essential. A MOLLE-compatible hydration pack easily attaches to your vest, providing a convenient way to carry water without interfering with your mobility.
Admin Pouches (Front): Admin pouches are perfect for organizing smaller items like pens, graphics, target lists, maps, or notepads. The pouch should be placed centered and high on the chest, above magazine pouches, to allow quick access to essential items without restricting reloads. Keep it low-profile to avoid unnecessary bulk and interference.
Utility Pouches (Cummerbund/Side): Versatile and spacious, utility pouches can carry various gear, from tools to personal items. Mounting them on the cummerbund helps distribute weight evenly.
Hanger Pouches (Lower Front Panel): A hanger pouch is a versatile accessory that mounts beneath your plate carrier, offering extra storage without adding bulk to your chest or sides.
Canteen Pouches (Side): Canteen pouches provide a secure and convenient way to carry water bottles or canteens, ensuring you stay hydrated during long missions or outdoor activities.
Grenade Pouches (Front or Side Panel): Grenade pouches provide a secure and accessible way to carry grenades, ensuring they are readily available when needed. They should be positioned where they can be quickly deployed but won’t interfere with movement.
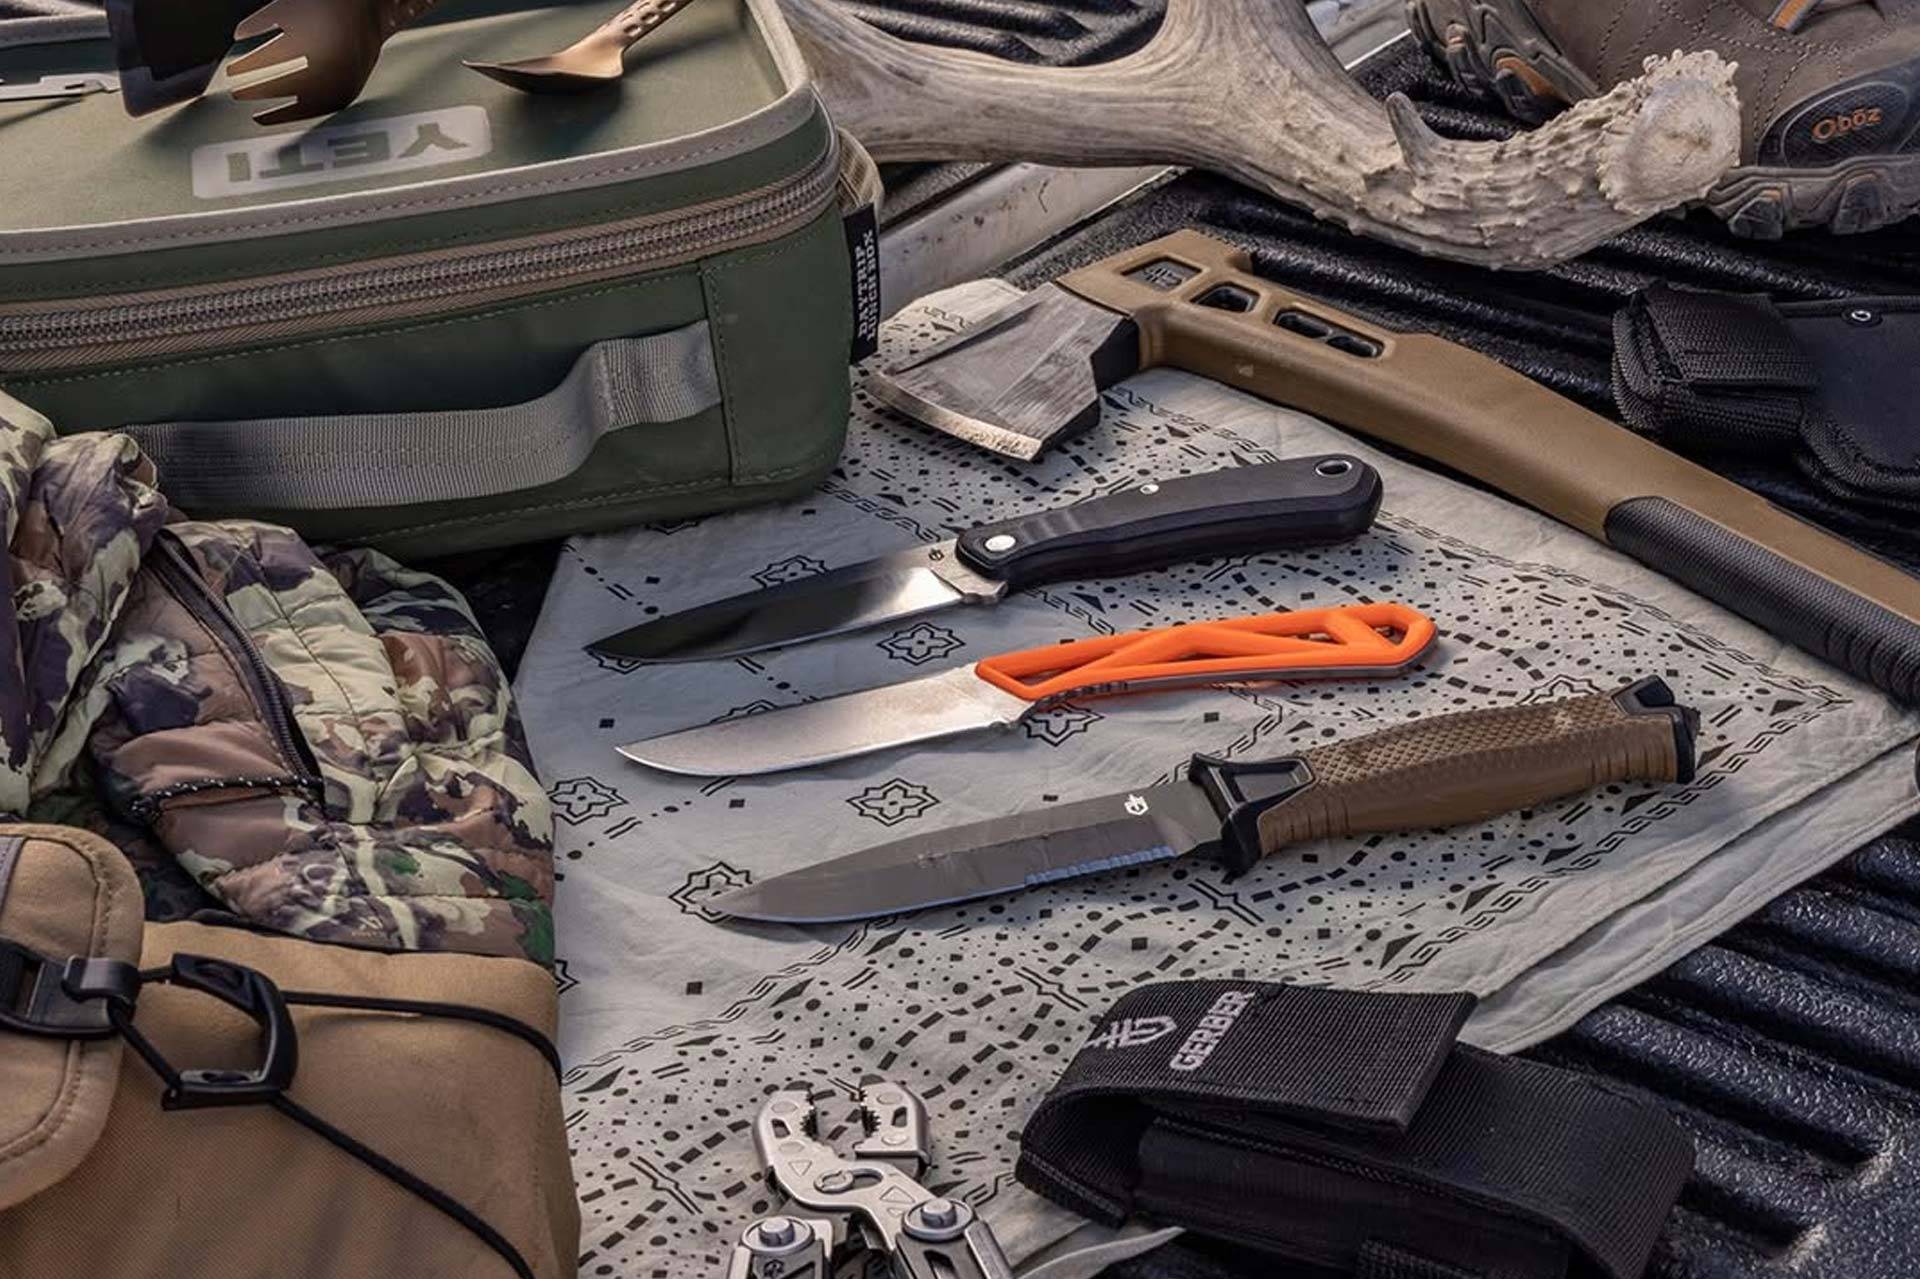
Knife Sheaths (Front or Side Panel): MOLLE-compatible knife sheaths securely hold your knife, ensuring it is readily accessible when needed. A good spot is along the front panel or side cummerbund for easy reach.
Shoulder Pads: Adding shoulder pads to your tactical vest can greatly enhance comfort and reduce fatigue. These pads provide extra cushioning, effectively distributing the weight of your gear to prevent shoulder pain. Often referred to as "shoulder savers," they are an excellent ergonomic upgrade, especially beneficial when your carrier is loaded with soft armor, plates, and magazines. Incorporating shoulder pads into your setup is a smart move for anyone seeking to improve their vest's comfort and functionality.
Hand Warmer Pouches: A hand warmer pouch is a great addition to your kit, especially in cold-weather operations where maintaining dexterity and comfort is crucial. Designed to retain heat with insulated materials and fleece lining, it keeps your hands warm between tasks, reducing the risk of numbness and slowed reaction times.
Step 6: Setting Up an IFAK
An Individual First Aid Kit (IFAK) isn’t just a suggestion—it’s a must. Your IFAK should be accessible with either hand and contain:
Tourniquet (TQ)
Chest seals
Hemostatic gauze
Compressed gauze
Elastic Bandage
Pressure dressing
Medical Tape
Marker
NPA (Nasopharyngeal Airway)
Mount it where you can grab it fast. Some keep it on their battle belt, but the side of the plate carrier works too. A common practice when operating with a unit or team is to standardize where an IFAK goes. This helps your battle buddies find it in a life-saving scenario or emergency. Just don’t stash it somewhere that requires a yoga move to reach.
Step 7: Communication and Utility Gear

Radios, GPS, and multi-tools need to be secured but easy to access. Route your radio cables through the shoulder straps to avoid snags. If you’re using a push-to-talk (PTT) system, test it with gloves on to make sure you can hit it in a hurry. Additionally, consider using a reroute kit for your radio antenna. This is a personal preference, but it can be a great way to adjust your antenna to a position that better suits your setup, enhancing both comfort and functionality.
Pro Tip: Velcro and shock cords are your best friends for securing loose cables and gear. Retainer bands offer a reliable backup for securing cables, but they can sometimes wear out over time.
Step 8: Testing and Adjusting
Once everything is mounted, it’s time for a stress test. Run, crouch, go prone, dip, duck, dive, and practice reloading. If something shifts too much or is hard to reach, fix it now—before it becomes a problem later.
Golden Rule: If you haven’t trained in it, you’re not ready to wear it. Plate carriers aren’t “set and forget” gear—they need regular tweaking based on mission requirements and personal preferences.
FAQs
What size plate carrier should I get?
Your plate carrier should fit snugly, with the front plate covering your vital organs (from just below the collarbone to above the navel). Check the manufacturer’s sizing guide to match your body type.
How tight should a plate carrier be?
It should be secure but not restrictive. You should be able to breathe deeply and move freely without excessive shifting.
How do I set up my plate carrier for long missions?
Distribute weight evenly, prioritize essential gear, and keep hydration accessible. Use the back panel for sustainment gear and side pouches for quick-access items like an IFAK or extra mags.
Related Posts


Disclaimer: The information in this blog post is for general informational purposes only and should not be taken as legal, regulatory, safety, or professional advice. Galls, LLC and its affiliates, including US Patriot, LLC, (collectively, the “Company”) distribute public safety and law enforcement products but do not manufacture the items discussed. All product details are based on manufacturer-provided information and have not been independently verified by Galls. We make no warranties regarding the accuracy or completeness of such information. Readers should consult the respective manufacturer or regulatory authority for the latest details.
For more detailed information, visit our Disclaimer Page.
