Cold Weather Fieldcraft: Time Tested Tips from the Ranger Handbook
When operating in cold-weather environments, the margin for error shrinks dramatically. A minor oversight in gear preparation or fieldcraft that might be an annoyance in temperate climates can become life-threatening when temperatures drop below freezing. For military professionals, cold-weather survival is not just about staying comfortable; it is about maintaining operational readiness under the harshest conditions.
This article is built around time-tested cold weather fieldcraft guidance from the Ranger Handbook. It is a strong baseline resource for small-unit fundamentals and survival skills, but it is not a one-size-fits-all playbook. Your mission, threat level, noise and light discipline, available equipment, terrain, and unit SOP will dictate what is realistic and what is not. In some environments, you may not be able to use open flames, build shelters, or pause long enough to do anything beyond disciplined layering, movement management, and security.
If you are a military professional, outdoorsman, or someone who finds themselves in a cold-weather survival situation, the goal here is simple: highlight what the Ranger Handbook teaches about heat management, deliberate fire use when conditions allow, and cold-injury recognition, then encourage you to apply it through the lens of your mission and standards.
1. Heat Management: It Starts With the Ground Up
This section assumes you are in a position where the tactical situation and timeline allow you to settle in. Think patrol base operations, a hide site, or any fixed position where you have completed priorities of work, established security, and your leadership has approved a rest plan. If you have a sleep system and pad, use it. If you do not, the Ranger Handbook’s field-expedient approach still applies.
Even in a non-tactical survival scenario, the principle is the same: the ground steals heat fast.
The most common misconception in cold weather is that warmth comes only from the layers on your body. While Extended Cold Weather Clothing System (ECWCS) and layering matter, one of the biggest threats during rest is conductive heat loss. The moment you stop moving, your body heat production drops. If you lay directly on frozen ground or snow without insulation, the earth acts like a heat sink and pulls warmth out of you faster than you can replace it. Even a high-loft jacket loses effectiveness when it is compressed under your body weight.
The Priority of "Bed" Before “Roof”
The Ranger Handbook emphasizes that you should establish ground insulation before worrying about overhead cover. If you only have time or materials to do one thing, insulate yourself from the ground.
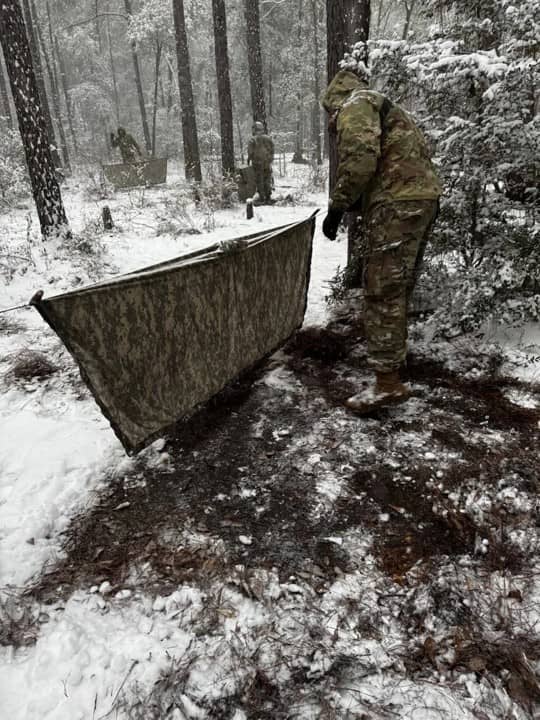
If you are constructing a lean-to or a hasty fighting position and you have to improvise, start by gathering natural materials like pine needles, leaves, dry grass, and boughs and build a mattress where you will lie.
- Quantity Matters: Do not settle for a thin layer. You need to create a mattress of debris at least 8 to 12 inches thick. Once you lay on it, it will compress. If you can still feel the cold hardness of the ground through the material, you need more.
- Green vs. Dead: Avoid using green boughs directly against your body if possible, as they contain moisture which can cool you down. Dry, dead vegetation captures dead air space, which is the key to insulation.
Practical takeaway: In cold training or operations, build your "bed" first. A waterproof tarp overhead keeps you dry, but a thick mattress of pine needles keeps you warm.
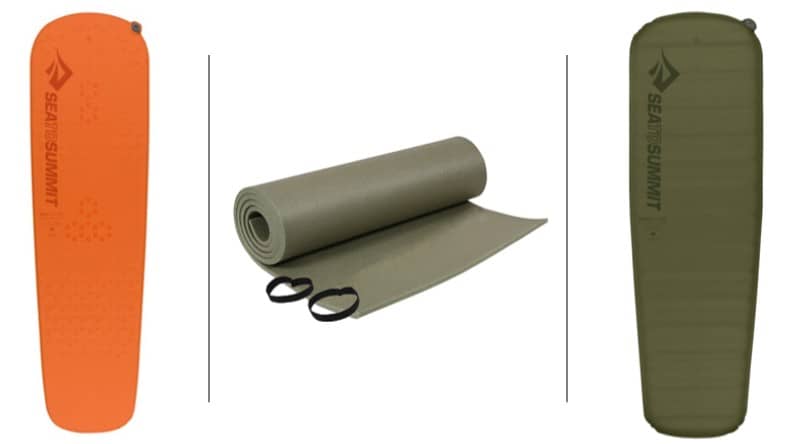
If your packing list and mission allow it, a sleeping pad is one of the simplest ways to reduce heat loss and avoid having to improvise insulation every time you stop.
Recommended sleep pads:
Rothco Foam Sleeping Pad (with ties)
Sea to Summit Camp Plus Self-Inflating Sleeping Pad (Regular)
Sea to Summit Ultralight Self-Inflating Sleeping Mat
And if you want to build out your full sleep system, browse our sleeping bags, blankets, pads, and hammocks to match your environment and season.
Shelter Orientation and Heat Conservation
As with most things in the field, this is mission dependent. In a tactical environment, signature, time, and security posture will dictate what you can build, if anything. Or, as the classic answer goes, “it’s METT-TC.” Mission, Enemy, Terrain and weather, Troops and support available, Time available, and Civil considerations all shape what is realistic.
But if you are in a patrol base or fixed position where priorities of work are complete, security is set, and you’ve already handled ground insulation for the rest cycle, overhead cover becomes the next step, especially if you do not have a personal tent.
The purpose is simple: reduce wind exposure and trap heat. Wind chill accelerates heat loss fast, and even a well-built bed of insulation loses value if you are resting in a steady breeze.
A standard lean-to is one of the most common field-expedient shelters because it is fast, simple, and effective. Where people often miss is orientation and size.
Orient for wind and conditions: If you are sheltering without fire, you generally want the solid side of the lean-to facing the prevailing wind to act as a windbreak. If you are in a permissive situation where a fire makes sense, you can cant the opening slightly off the wind and use a reflector wall to manage smoke and keep radiant heat where you need it. Either way, the goal is the same: block wind and control airflow.
Reduce air space: A common mistake is building a shelter that is too large. Your body is the heat source, and the more empty space you create, the more heat you have to “pay” to warm it. Keep the shelter low, tight, and sized to the number of people inside, with the smallest practical opening.
Practical takeaway: Once ground insulation is handled and METT-TC allows you to improve your position, a small, well-oriented shelter can dramatically cut wind exposure and help you hold core temperature during rest cycles so you wake up functional for the next shift, movement, or mission phase.
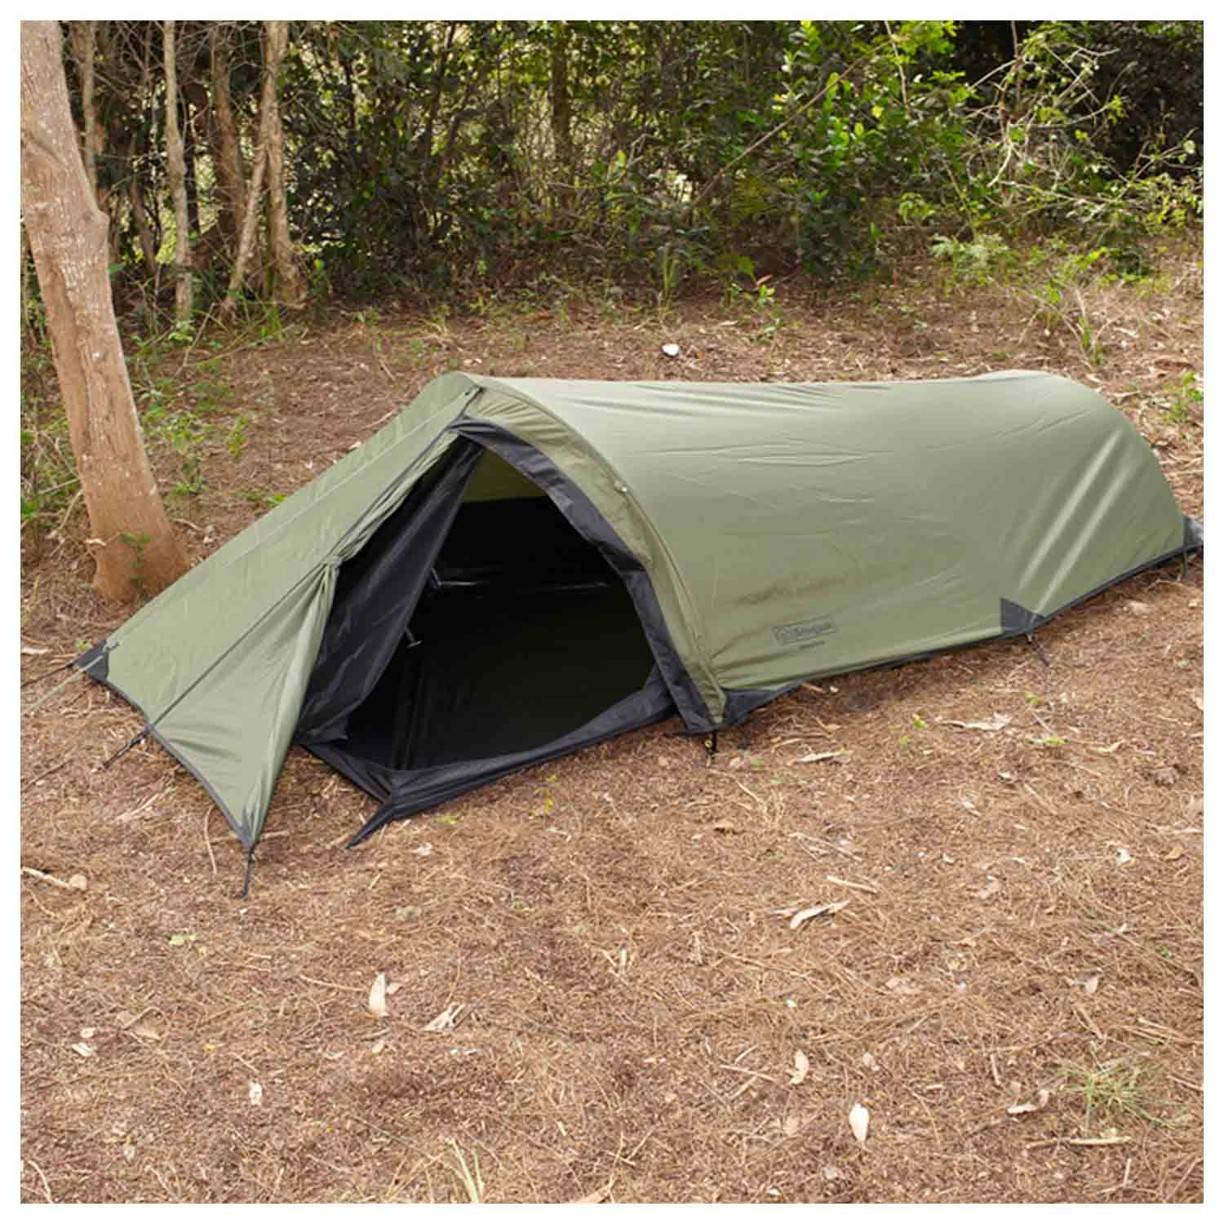
If you have the space on your packing list and the environment allows it, you can avoid having to improvise overhead cover by carrying a personal tent, like the Snugpak Ionosphere 1-Person Tent.
2. Fire Use: Deliberate and Tactical
The same METT-TC factors apply here. Fire can be a calculated advantage or a liability. It can provide warmth, boost morale, and give you a way to heat water or food, but it also creates a signature: light, smoke, smell, and a predictable point of focus. The decision to build a fire should be weighed against the enemy situation, required noise and light discipline, and your unit SOP. If the mission demands strict stealth, you are relying on layers, wind protection, and your shelter plan instead.
But when the situation permits, or when preventing cold injury becomes the higher priority, fire use needs to be deliberate. It is not enough to pile wood and hope for the best. The goal is to manage a fire in a way that produces usable heat while staying controlled, burning efficiently, and minimizing unnecessary exposure.
The Drying Plan
In cold weather, moisture is the enemy. Sweat from movement, melting snow, and water crossings can all compromise insulation. Once you stop moving, that moisture cools quickly and pulls heat off your body. The Ranger Handbook frames it simply: wet turns into cold fast.
Therefore, fire is not just for warmth; it is a tool for drying.
- Reflector Walls: To make a fire efficient, build a reflector wall behind the fire, opposite your shelter opening. This wall, made of stacked logs or green wood, reflects radiant heat back into your shelter rather than letting it dissipate into the open woods.
- Improvised Drying Racks: Utilize the space above or near the reflector wall to construct a drying rack. Wet socks, gloves, and base layers should be carefully dried here. This must be managed closely to avoid burning your critical gear. A drying plan is a survival plan—ensure you are rotating gear to get it dry before you step off again.
Site Selection and Preparation
Hasty fire building leads to failure. Proper preparation ensures the fire is sustainable and safe.
- Clear the Area: Clear a circle approximately 3 feet in diameter down to mineral soil. Remove all leaves, twigs, and combustible material to prevent the fire from spreading uncontrollably or melting the snow around you into a mud pit.
- Snow Platform: If operating in deep snow, you cannot build a fire directly on the snow surface; the heat will melt the snow, and the fire will sink and eventually be extinguished by the meltwater. Construct an aboveground base using green logs. Lay them side-by-side to create a platform. This keeps the coals elevated and dry.
Tactical Fire Lays
Different situations call for different fire lays. Understanding the mechanics of each helps you choose the right tool for the job.
The Dakota Fire Hole:
This is the preferred method for tactical situations where concealment is required.
- Construction: Dig a hole in the ground for the main fire chamber. Dig a second, smaller hole about a foot away, angling it to connect to the base of the first hole. This second hole acts as an air intake (vent).
- Advantages: The fire burns below ground level, hiding the flame from direct observation. The airflow creates a hot, efficient burn that produces less smoke. It is also excellent for cooking as a canteen cup or pot can rest directly over the hole.
The Tepee Fire:
Ideal for a quick warm-up or boiling water rapidly.
- Construction: Lean kindling and fuel wood together in a cone shape.
- Advantages: It concentrates heat at a single point and burns quickly. It requires frequent fueling but produces a high flame for immediate heat.
The Lean-To Fire:
Useful when wind is an issue.
- Construction: Drive a green stick into the ground at a 30-degree angle into the wind. Lean your tinder and kindling against this stick.
- Advantages: The stick acts as a windbreak, protecting the fragile initial flame while allowing air to feed the fire.
The Cross-Ditch:
Effective when you have no tools to dig a Dakota hole but need airflow.
- Construction: Scratch a cross into the ground about 3 inches deep. Build a pyramid fire in the center of the cross.
- Advantages: The ditches allow air to be drawn into the center of the fire from four directions, promoting combustion even with poor fuel.
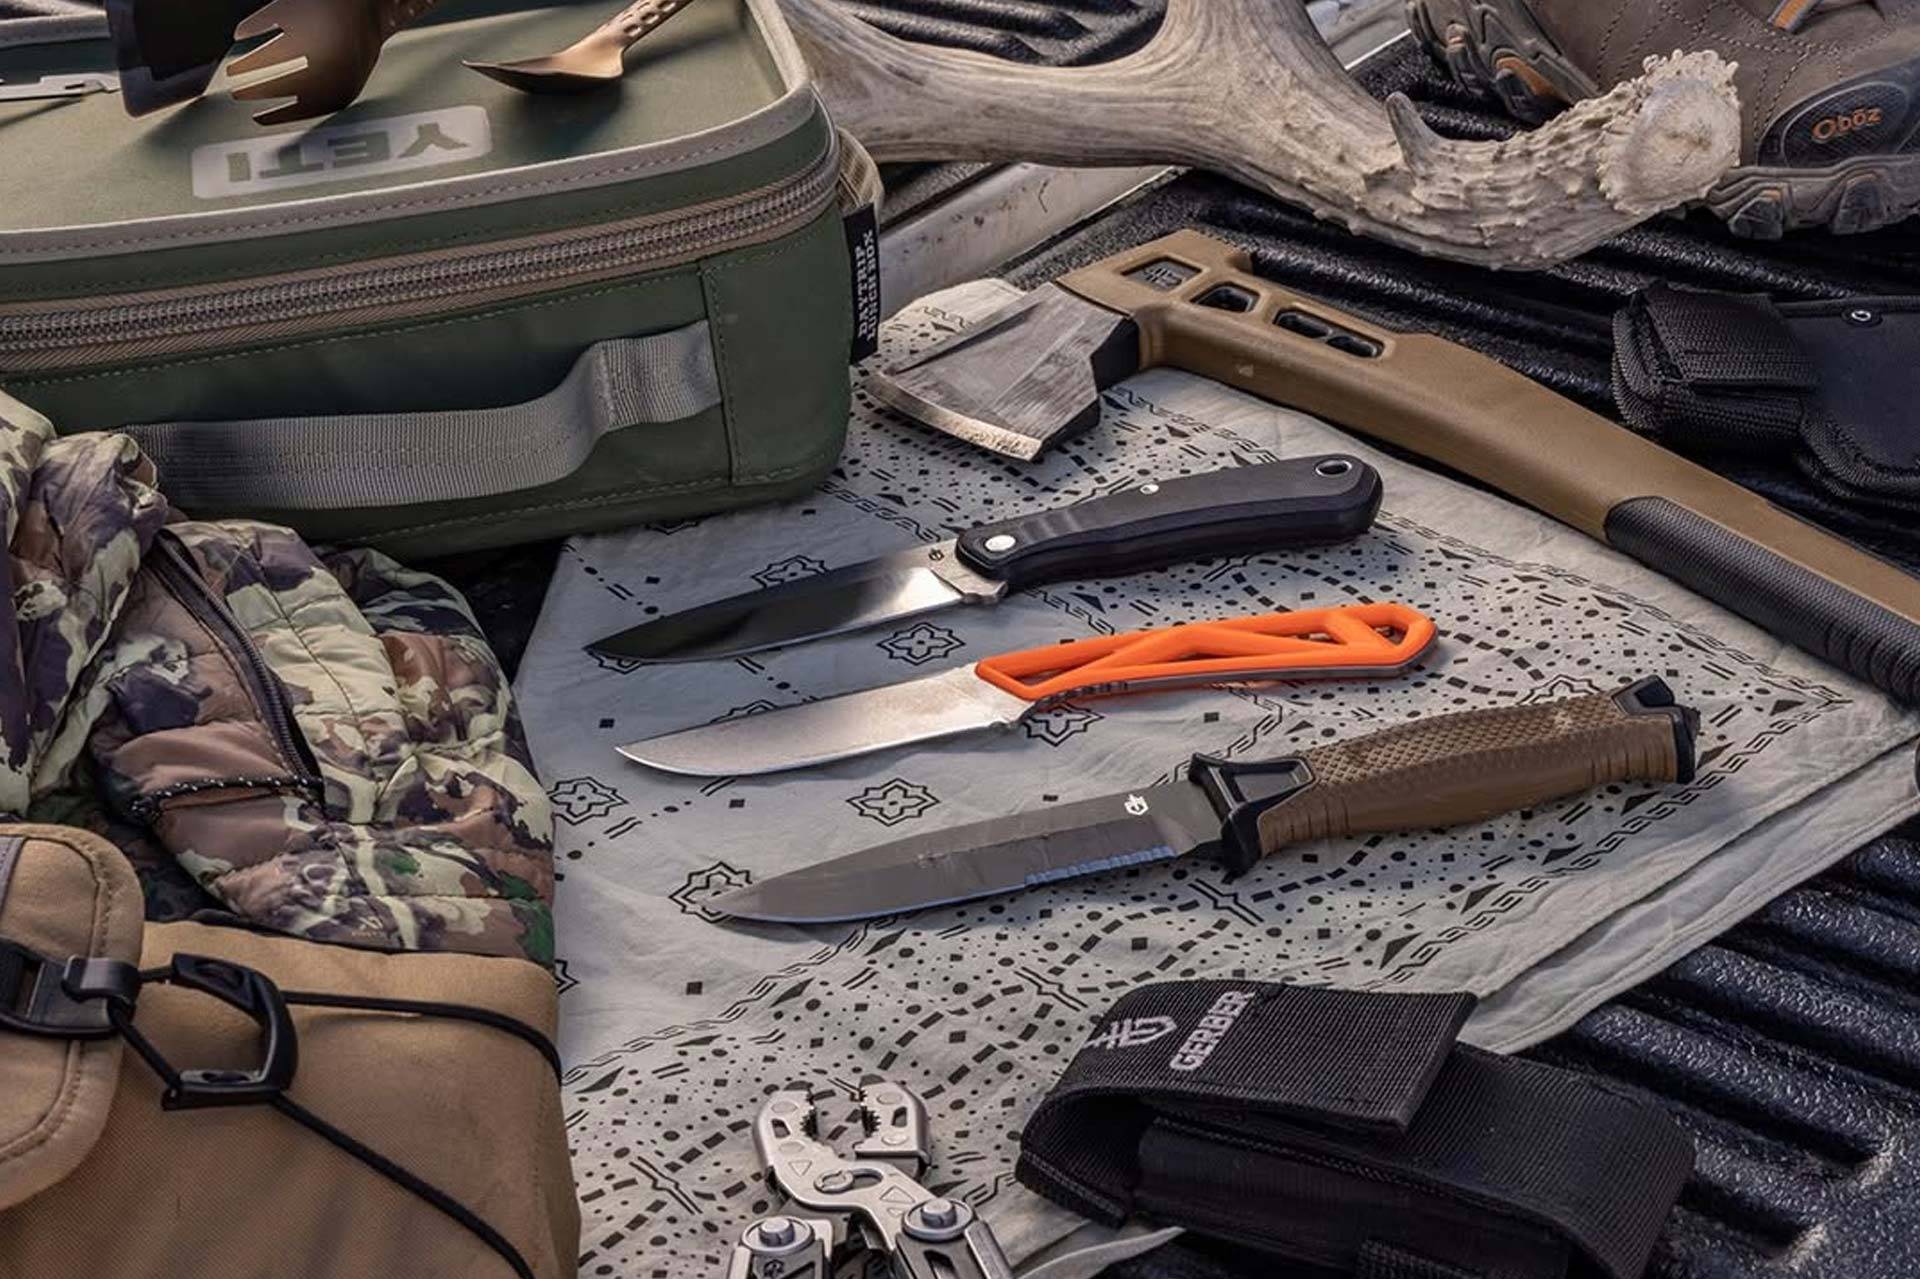
Fire might not always be an option, but an ignition source is still a good tool to carry. If the situation allows a fire, you do not want to be improvising when your hands are cold, wet, and clumsy. A dependable lighter on your person is a simple piece of insurance that matters in both tactical and non-tactical environments. Here are a few top tactical lighters from Mission Made:
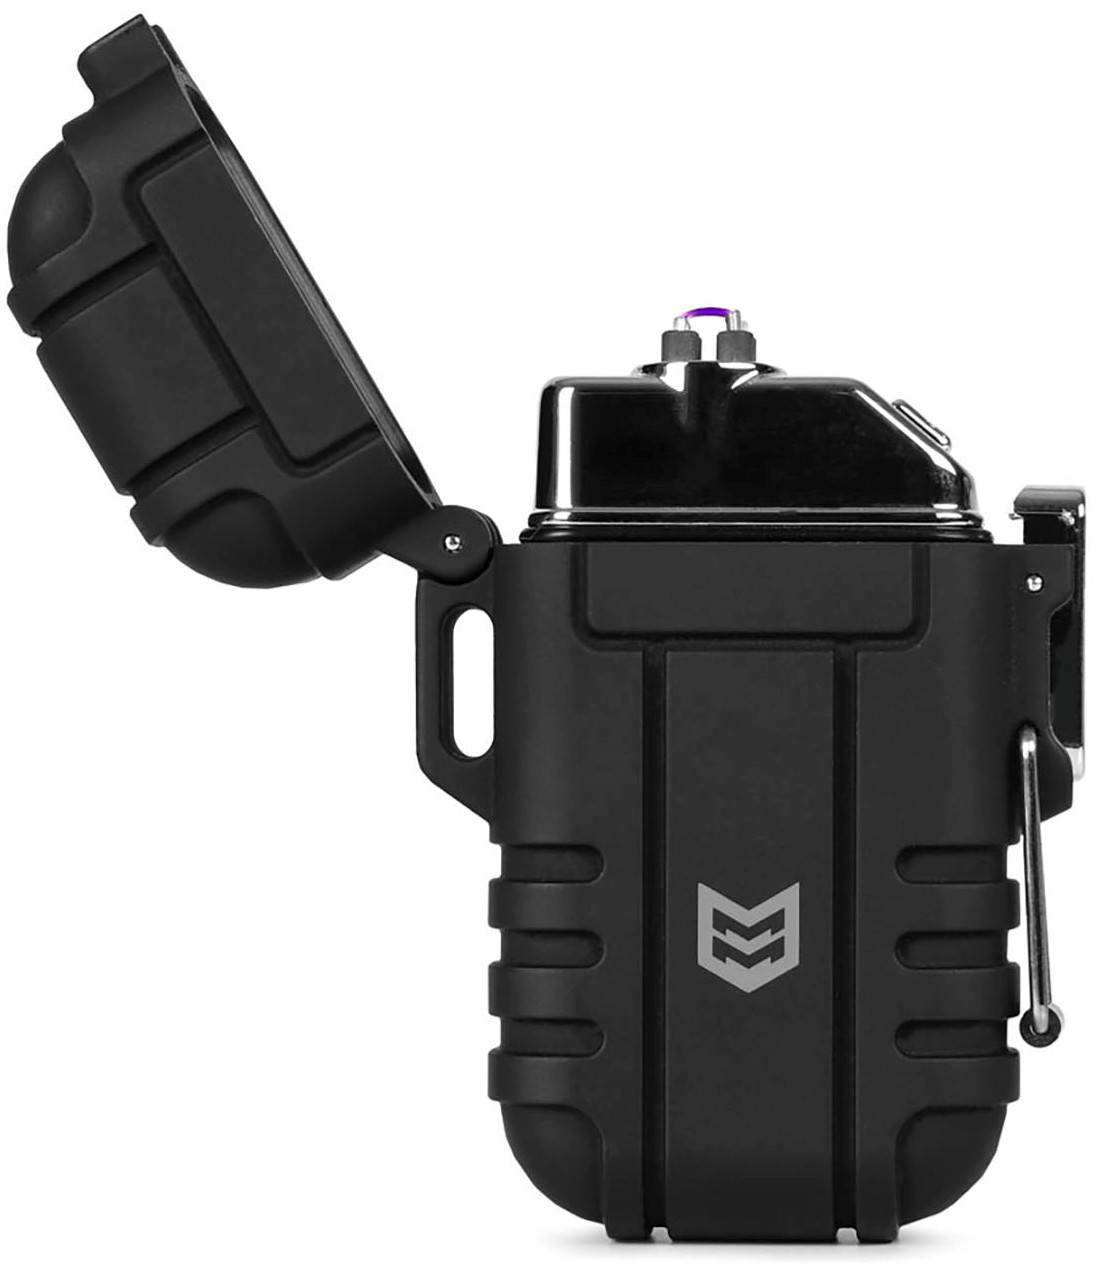
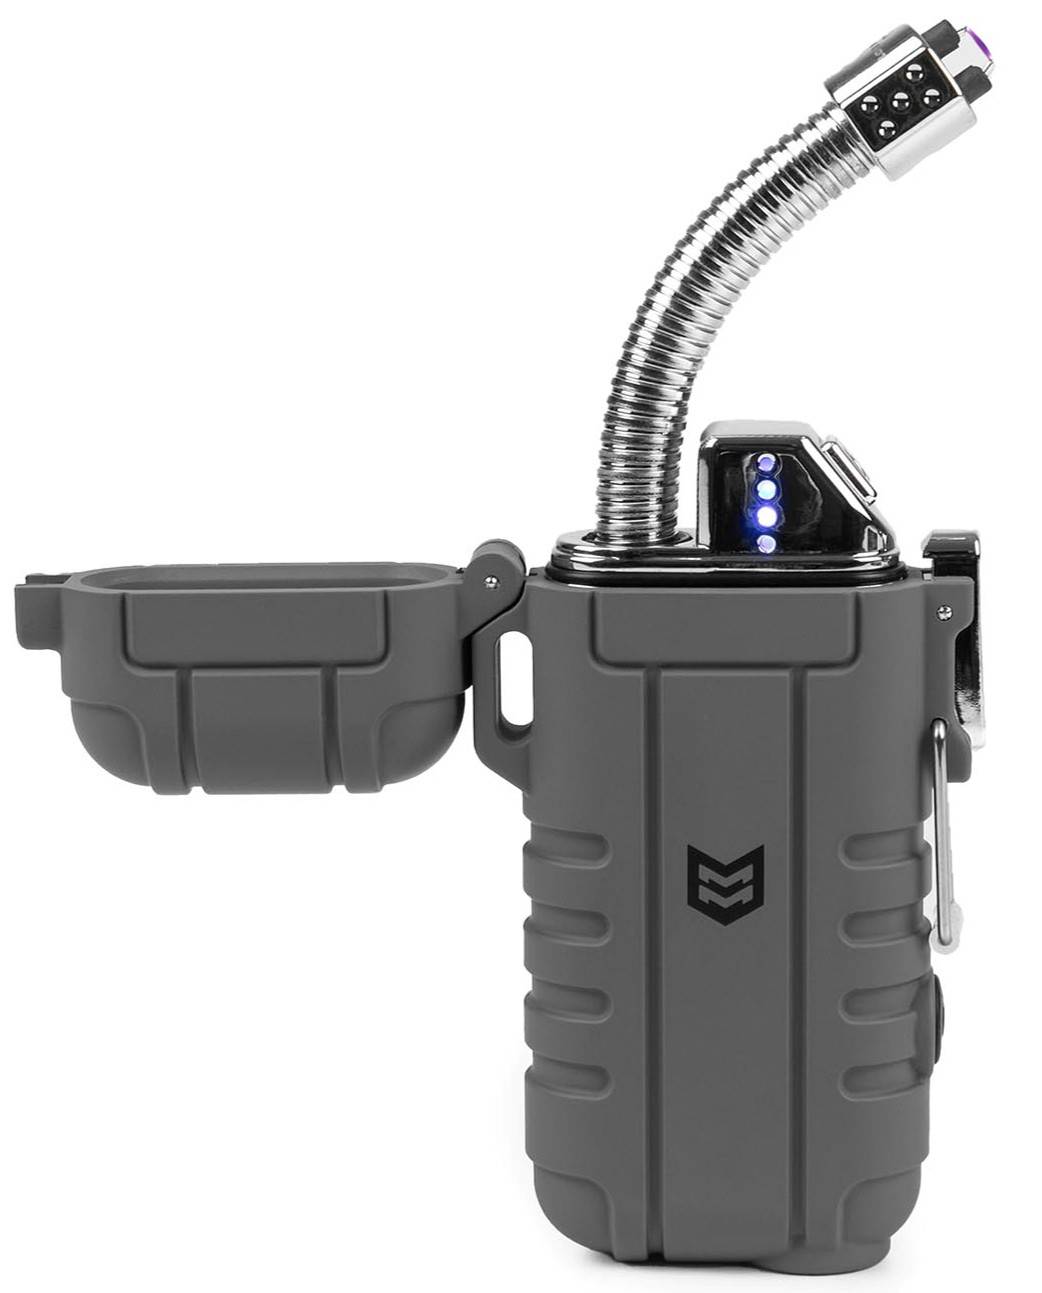
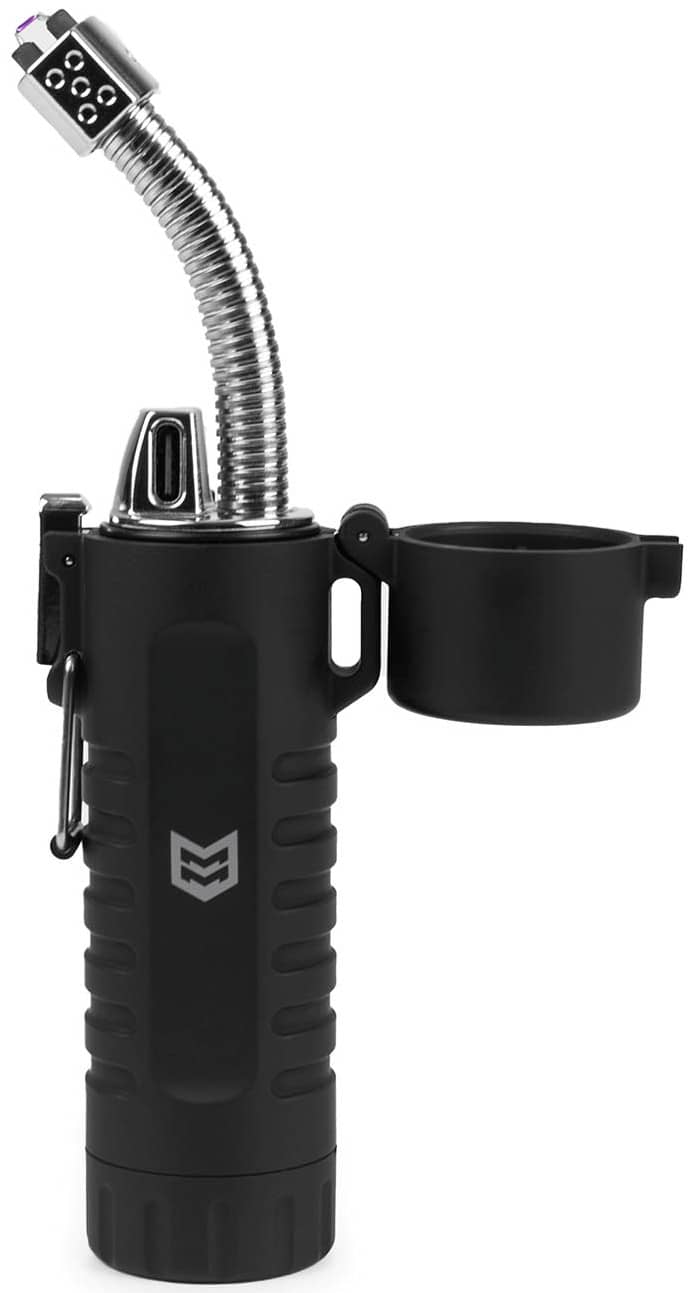
Mission Made Gooseneck Plasma Lighter
3. Treating Cold Injuries: Recognition and Reaction
Cold weather equipment and snivel gear help, but the environment is relentless. Cold injuries can take people out of the fight quickly, and they usually start small. Leaders and individuals need to watch themselves and their buddies for early signs of cold stress. The two big concerns are frostbite and hypothermia.
Frostbite: Freezing of Tissue
Frostbite occurs when tissue freezes due to exposure to temperatures below 32°F. It most commonly affects extremities—fingers, toes, ears, and nose. Wind chill and contact with cold metal or fuel accelerate this process.
Superficial Frostbite:
- Signs: The skin appears white, waxy, or grayish-yellow. The affected area may feel numb or have a stinging sensation. The tissue underneath is still soft and pliable when pressed.
- Immediate Action: The goal is to warm the area gently. Place cold fingers in your armpits or against the warm abdomen of a buddy. Cover ears with warm hands.
- Do Not: Never rub the area with snow or massage it vigorously, as this damages the tissue crystals. Do not expose the area to intense heat (like an open flame) as the numb skin cannot detect burns.
Deep Frostbite:
- Signs: The skin feels hard, solid, and wooden. It may look pale or waxy and will be totally numb. Blisters may form, or the area may turn black in severe cases (gangrene).
- Immediate Action: This is a medical emergency. If you are in the field and must walk or continue the mission, do not thaw the feet. Walking on thawed frostbitten feet causes catastrophic tissue damage. It is better to walk out on frozen feet than thawed ones.
- Treatment: Protect the area from further injury and cold. Seek medical evacuation immediately. If evacuation is delayed and there is no chance of the tissue refreezing, rapid rewarming in warm water (100°F-105°F) can be attempted by medical personnel, but pain management will be required.
Hypothermia: The Silent Killer
Hypothermia is the lowering of the body's core temperature. It can happen even in temperatures above freezing if the soldier is wet and exposed to wind. It impairs judgment, making the victim unaware of their condition.
Mild Hypothermia:
- Signs: Uncontrolled shivering is the hallmark sign. The individual may be alert but complain of cold. Fine motor skills (like loading a magazine) become clumsy.
- Immediate Action: Stop heat loss immediately. Get the individual out of the wind and into a shelter. Remove wet clothing and replace it with dry insulation. Encourage movement if possible to generate heat.
Moderate to Severe Hypothermia:
- Signs: Shivering stops—this is a critical danger sign. The core temperature has dropped below 95°F. Mental status changes: confusion, lethargy, slurred speech, or irrational behavior (such as paradoxical undressing). The victim may lose consciousness.
- Immediate Action:
- Handle Gently: A cold heart is irritable. Rough handling can trigger cardiac arrest.
- Insulate: Remove wet clothing carefully. Wrap the victim in dry sleeping bags, blankets, or shelter halves.
- External Heat: Apply gentle heat to the major arteries (neck, armpits, groin) using hot water bottles or warm rocks wrapped in cloth. Do not burn the skin.
- Buddy Warming: Skin-to-skin contact inside a sleeping bag is highly effective.
- Liquids: Give warm, sweet liquids ONLY if the victim is fully conscious and can swallow. Never force fluids into an unconscious person.
- Evacuate: Severe hypothermia requires professional medical intervention. Field rewarming is difficult for deep hypothermia.
Most medic bags will include a survival blanket, often called a space blanket, like these options from Rothco:
Rothco Polarshield Sleeping Bag Style Survival Blanket (Orange/Silver)
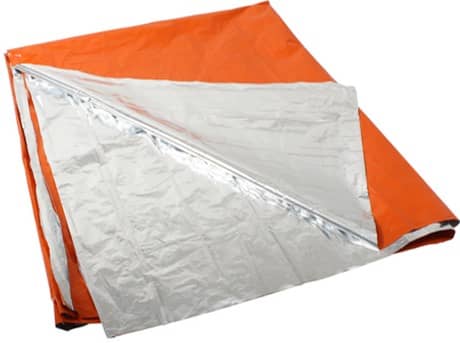
Rothco Polarshield Survival Blanket
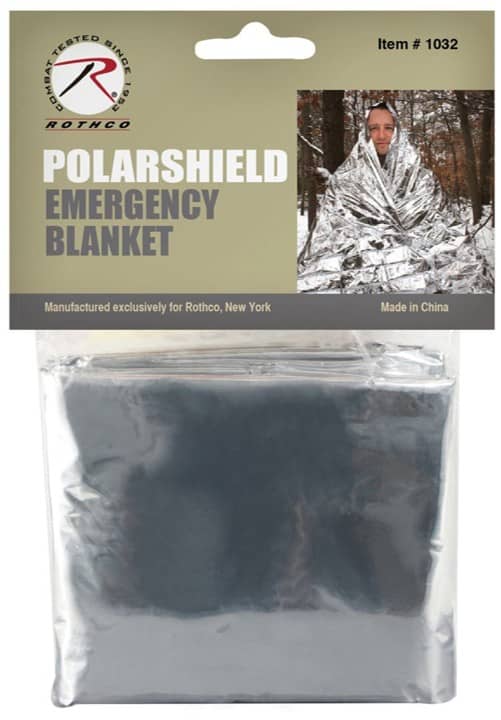
They are a smart item to have on hand during cold weather operations, especially for emergencies where you need to reduce heat loss quickly while treating a casualty or waiting on movement/evacuation.
Prevention is the Best Medicine
The Ranger Handbook stresses that leadership is the primary defense against cold injuries. This means enforcing hydration (dehydration increases cold injury risk), enforcing sock changes, and monitoring the "buddy system." Soldiers must check each other's faces for frostbite during halts.
Fieldcraft in the cold is about discipline. It is the discipline to stop and fix a cold foot before it freezes. It is the discipline to gather enough pine boughs for a bed when you are exhausted. And it is the discipline to maintain your gear so it can protect you.
At U.S. Patriot, we understand that your gear is your lifeline. We are committed to providing you with the high-performance boots, socks, and layering systems that meet military standards and endure the rigors of your mission. But remember: the best gear in the world works best when paired with the right knowledge. Stay dry, insulate from the ground, manage your heat, and watch out for your team.
Field-tested and approved principles for those who serve.